In Django How to Create Folder to Upload Images
Django File (and Epitome) Uploads Tutorial
This tutorial shows how to implement file and and so image uploading with Django. We'll build a basic Instagram clone.
Setup
Whether y'all're on a Windows or Mac laptop the Desktop is a convenient identify to put our code. The location doesn't thing; information technology just needs to be easily available.
Open up the command line and navigate to the Desktop. And then create a directory, insta, for our project. We will create a new virtual environment, activate it, and install both Django and pillow which is the Python paradigm process library Django relies on for prototype files. For non-image file uploads, pillow is non needed.
# Windows > cd onedrive \ desktop \ code > mkdir insta > cd insta > python - m venv . venv > . venv \ Scripts \ Activate . ps1 (. venv ) > python - thou pip install django ~= 4 . 0 . 0 (. venv ) > python - m pip install pillow ~= 9 . 0 . 0 # macOS % cd ~/ desktop / code % mkdir insta % cd insta % python3 - m venv . venv % source . venv / bin / activate (. venv ) % python3 - m pip install django ~= 4 . 0 . 0 (. venv ) % python - thou pip install pillow ~= 9 . 0 . 0
At present create our new Django project called django_project and a new app called posts.
(.venv) > django-admin startproject django_project . (.venv) > python manage.py startapp posts
Since nosotros've added a new app we demand to tell Django about it at the bottom of the INSTALLED_APPS configuration in settings.py.
# django_project/settings.py INSTALLED_APPS = [ "django.contrib.admin" , "django.contrib.auth" , "django.contrib.contenttypes" , "django.contrib.sessions" , "django.contrib.messages" , "django.contrib.staticfiles" , "posts" , # new ]
Now run python manage.py migrate to setup the new database for our project.
(.venv) > python manage.py drift Models
Starting with the database model is a good choice. In our case our model Mail will simply have two fields: title and cover. Nosotros'll as well include a __str__ method beneath so that the title appears in our Django admin afterward on.
# posts/models.py from django.db import models class Post ( models . Model ): title = models . TextField () cover = models . ImageField ( upload_to = 'images/' ) def __str__ ( self ): return self . title
The location of the uploaded image volition exist in MEDIA_ROOT/images. In Django, the MEDIA_ROOT setting is where we define the location of all user uploaded items. We'll set that now.
If we wanted to use a regular file hither the just deviation could be to change
ImageFieldtoFileField.
MEDIA_ROOT
Open up config/settings.py in your text editor. We will add together ii new configurations. Past default MEDIA_URL and MEDIA_ROOT are empty and non displayed so we need to configure them:
-
MEDIA_ROOTis the absolute filesystem path to the directory for user-uploaded files -
MEDIA_URLis the URL we can employ in our templates for the files
# config/settings.py MEDIA_URL = "/media/" MEDIA_ROOT = BASE_DIR / "media"
We could pick a name other than media here just this is the Django convention. We'll also make an images folder inside information technology to use presently.
(.venv) $ mkdir media (.venv) $ mkdir media/images
Admin
At present update the posts/admin.py file and then we can meet our Post app in the Django admin.
# posts/admin.py from django.contrib import admin from .models import Post admin . site . annals ( Post )
And we're all set! Generate a new migrations file.
(.venv) > python manage.py makemigrations Migrations for 'posts': posts/migrations/0001_initial.py - Create model Post
Then run drift to update the database.
(.venv) > python manage.py migrate Operations to perform: Apply all migrations: admin, auth, contenttypes, posts, session due south Running migrations: Applying posts.0001_initial... OK
At present we can create a superuser account to access the admin and then execute runserver to spin up the local web server for the first fourth dimension.
(.venv) > python manage.py createsuperuser (.venv) > python manage.py runserver
If you go to http://127.0.0.one:8000/admin yous'll be able to log in to the Django admin site. It should redirect you to this folio:

Click on the "+ Add" link side by side to Posts. You tin can add whatever you lot like just for this tutorial I'g making a mail on the Django Pony mascot. You can download it here yourself if you similar.
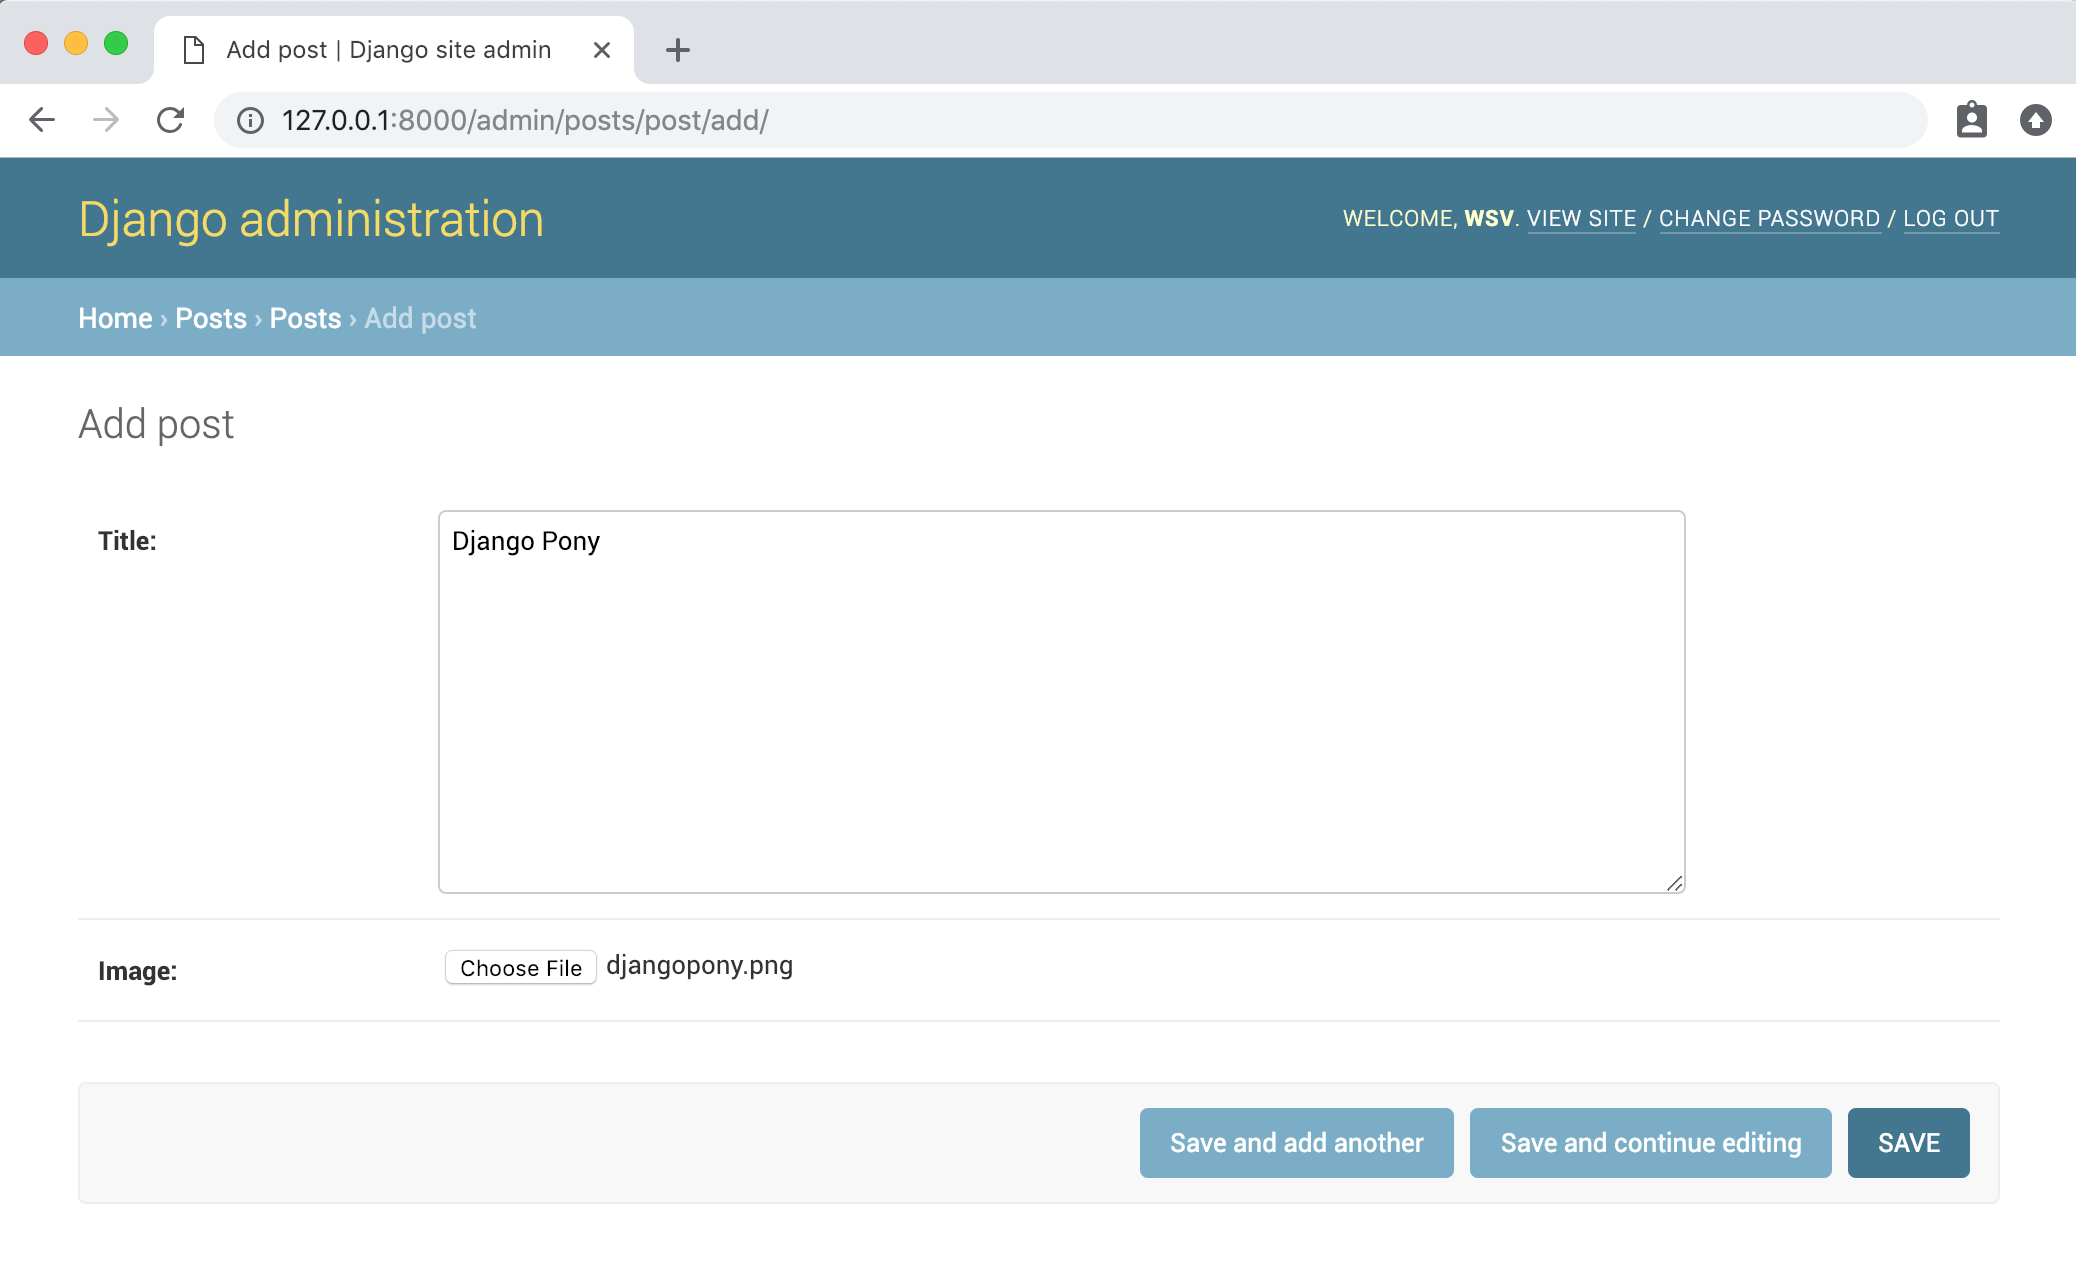
Upon "Relieve" yous volition exist redirected to the Posts page where nosotros can see all our posts.

If you await within the local media binder in your project you lot'll meet under images there is at present the djangopony.png image file. See! I told you that was what MEDIA_URL would do.
Ok, so at this point nosotros're done with the basics. But let'southward take it a step further and display our posts which means urls.py, views.py, and template files.
URLs
The disruptive thing almost Django is that you frequently demand four different but interconnected files for one webpage: models.py, urls.py, views.py, and a template html file. I observe it easiest to reason nearly this by going in club from models -> urls -> views -> template files. Our model is already done so that ways diving into URL routes.
We'll need two urls.py file updates. Outset at the project-level config/urls.py files nosotros need to add imports for settings, include, and static. Then define a road for the posts app. Note we likewise need to add the MEDIA_URL if settings are in DEBUG style, otherwise we won't be able to view uploaded images locally.
# config/urls.py from django.contrib import admin from django.conf import settings # new from django.urls import path , include # new from django.conf.urls.static import static # new urlpatterns = [ path ( "admin/" , admin . site . urls ), path ( "" , include ( "posts.urls" )), # new ] if settings . DEBUG : # new urlpatterns += static ( settings . MEDIA_URL , document_root = settings . MEDIA_ROOT )
Adjacent we'll demand to sort out the URL routes within the posts app. First create that new file in your text editor posts/urls.py. So we'll put all posts on the homepage so again utilize the empty string "" as our route path.
# posts/urls.py from django.urls import path from .views import HomePageView urlpatterns = [ path ( "" , HomePageView . as_view (), name = "home" ), ]
This references a view called HomePageView which we'll create next.
Views
We tin can use the generic grade-based ListView here, import our Postal service model, and and then create a HomePageView that uses the model and a template called home.html.
# posts/views.py from django.views.generic import ListView from .models import Mail form HomePageView ( ListView ): model = Post template_name = "home.html"
Boom! Moving on the last footstep is that template file called abode.html.
Templates
We have two choices for our template's location. We could put information technology within the posts app at posts/templates/posts/home.html but I observe that structure redundant. Plus it'due south harder to reason about templates when they are all buried within their respective apps. So typically I volition instead create a projection-level templates directory.
(.venv) > mkdir templates We tell Django to also await hither for whatever templates by updating the TEMPLATES configuration within config/settings.py.
# config/settings.py TEMPLATES = [ { ... "DIRS" : [ BASE_DIR / "templates" ], # new ... }, ]
Then create a template file within this directory, templates/domicile.html, that will display the title and image for all posts. Just similar Instagram would :)
<!-- templates/home.html --> < h1 >Django Image Uploading</ h1 > < ul > {% for post in object_list %} < h2 >{{ post.championship }}</ h2 > < img src = "{{ mail.encompass.url}}" alt = "{{ mail service.title }}" > {% endfor %} </ ul >
Ok, that's it! Make certain the server is running with the python manage.py runserver command and navigate to our homepage at http://127.0.0.1:8000. Refresh the page if needed.
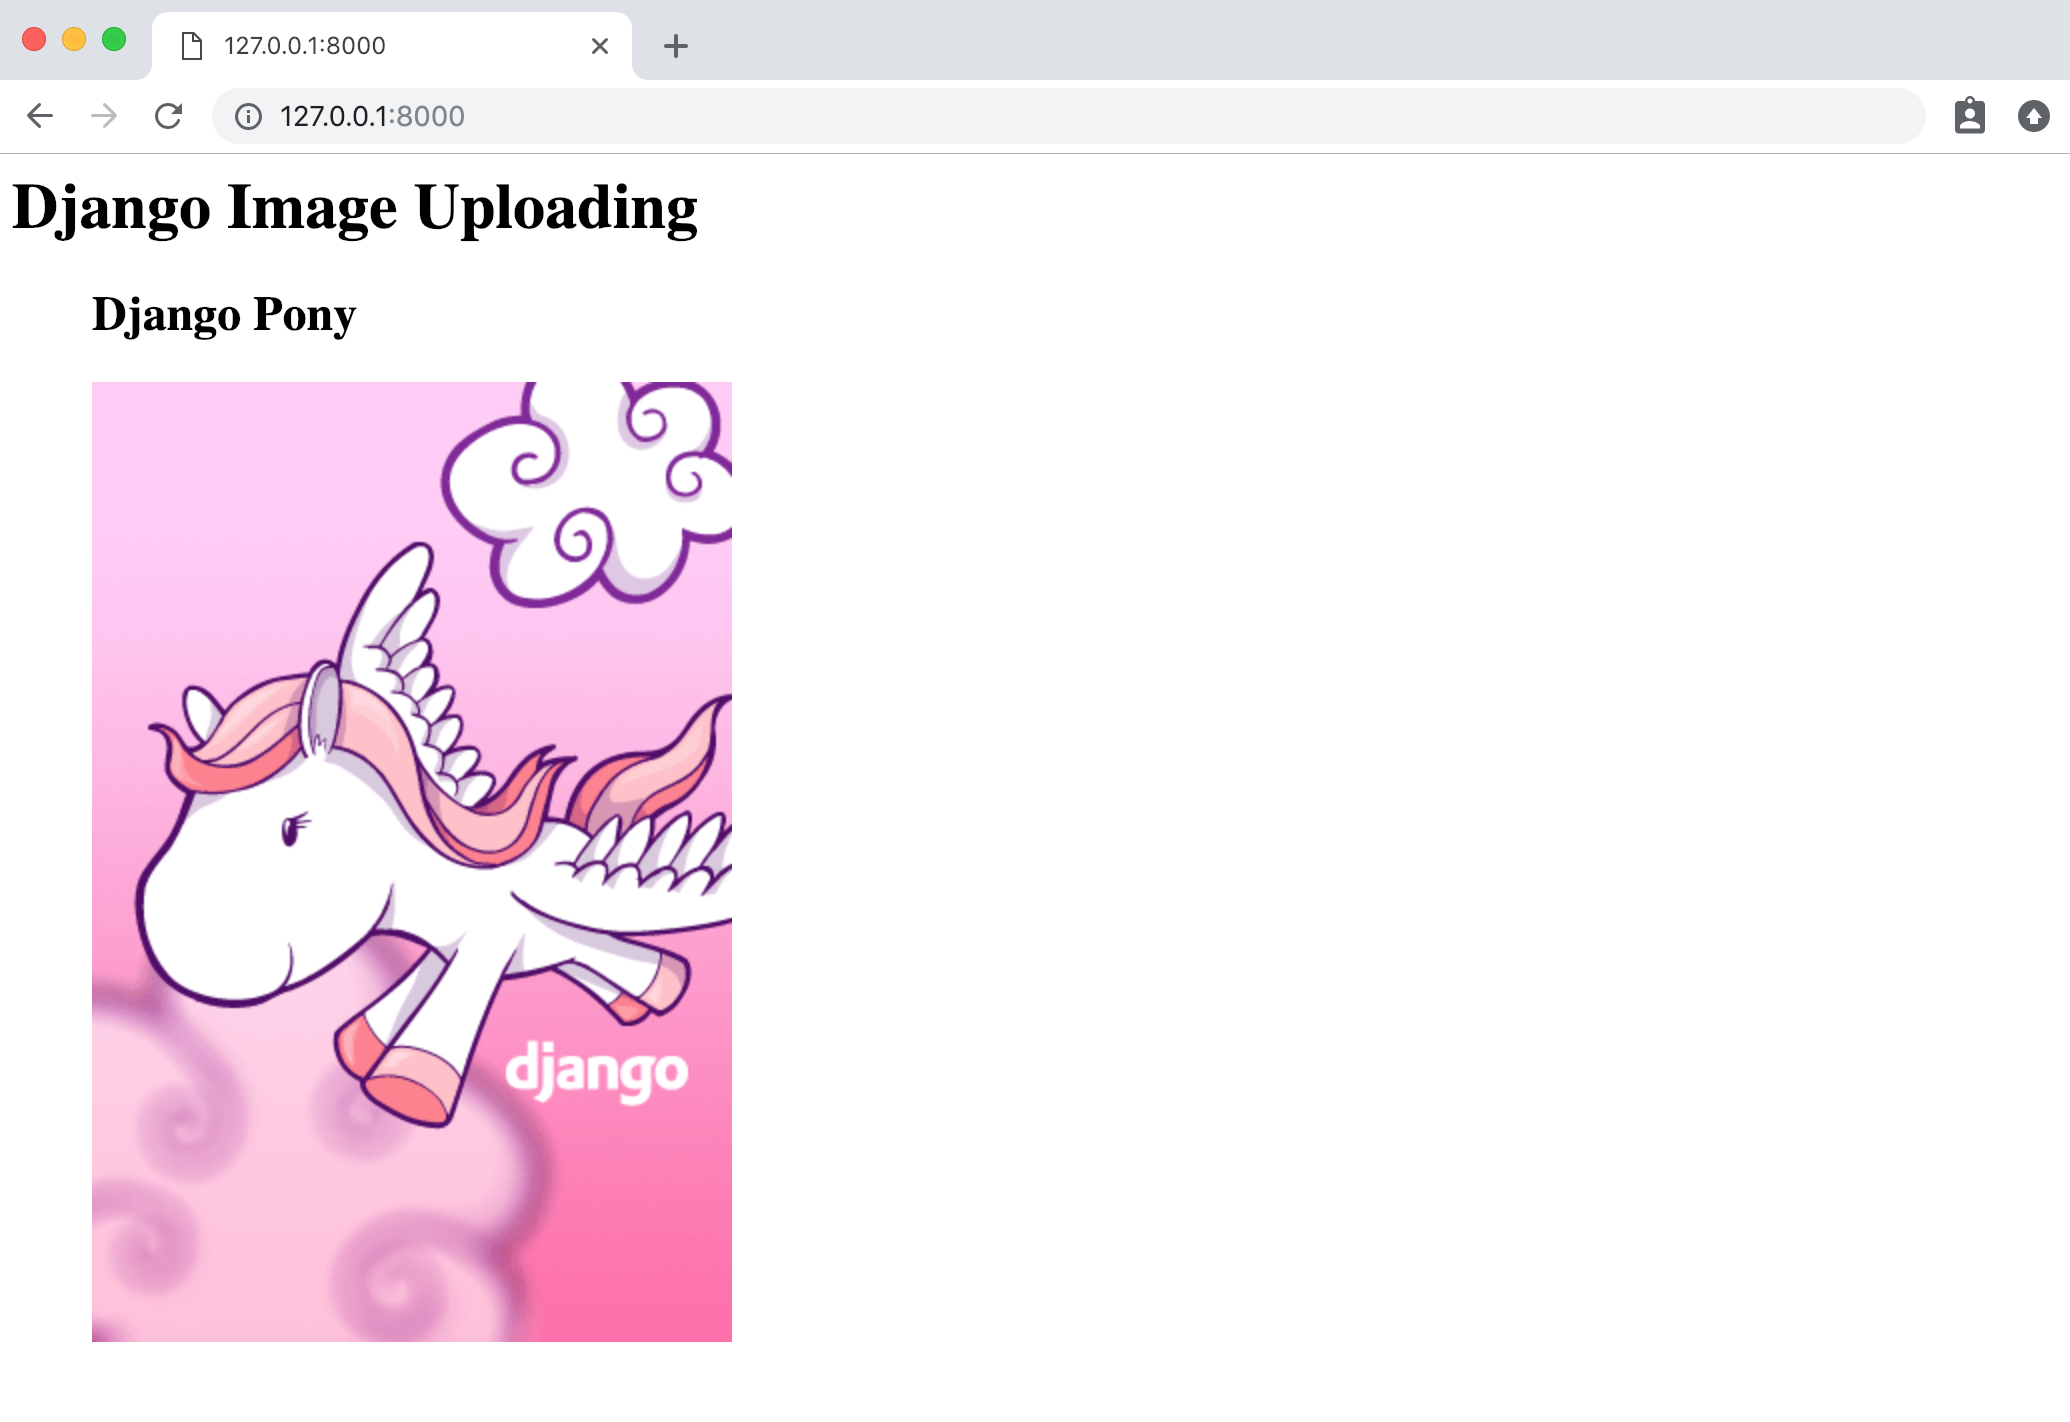
And voila! If you add additional posts with a title and image via the admin they will appear on the homepage.
Form
At present we can add a form so regular users, who wouldn't take access to the admin, tin also add together posts. That means creating a new page with a form.
Let's start with the views.py file. We'll proper name our new view CreatePostView which will extend the congenital-in Django CreateView. We'll also import reverse_lazy to handle the redirect back to our homepage after the form has been submitted.
Within the view nosotros specify the model, a form_class which we'll create side by side, the template_name, and finally a success_url which is what we desire to happen after submission.
# posts/views.py from django.views.generic import ListView , CreateView # new from django.urls import reverse_lazy # new from .forms import PostForm # new from .models import Post course HomePageView ( ListView ): model = Postal service template_name = "habitation.html" class CreatePostView ( CreateView ): # new model = Post form_class = PostForm template_name = "mail.html" success_url = reverse_lazy ( "habitation" )
Next upwardly that form. First create it in your text editor at posts/forms.py. Then we tin extend Django's built-in ModelForm. All we demand for our bones grade is to specify the correct model Mail service and the fields nosotros desire displayed which are title and cover.
# posts/forms.py from django import forms from .models import Mail form PostForm ( forms . ModelForm ): course Meta : model = Postal service fields = [ "title" , "cover" ]
We'll make a dedicated page for this course at the path of mail/.
# posts/urls.py from django.urls import path from .views import HomePageView , CreatePostView # new urlpatterns = [ path ( "" , HomePageView . as_view (), name = "home" ), path ( "post/" , CreatePostView . as_view (), proper name = "add_post" ) # new ]
Then create the new template at templates/post.html. And fill up information technology with a headline and form. It'southward important to always add csrf_token for protection. We're specifying form.as_p which means Django will output each field equally a paragraph tag.
<!-- templates/post.html --> < h1 >Create Post Page</ h1 > < class method = "postal service" enctype = "multipart/form-data" > {% csrf_token %} {{ form.as_p }} < button type = "submit" >Submit New Mail service</ push > </ course >
That's it! Brand sure your server is running and go to the page at http://127.0.0.1:8000/mail/.
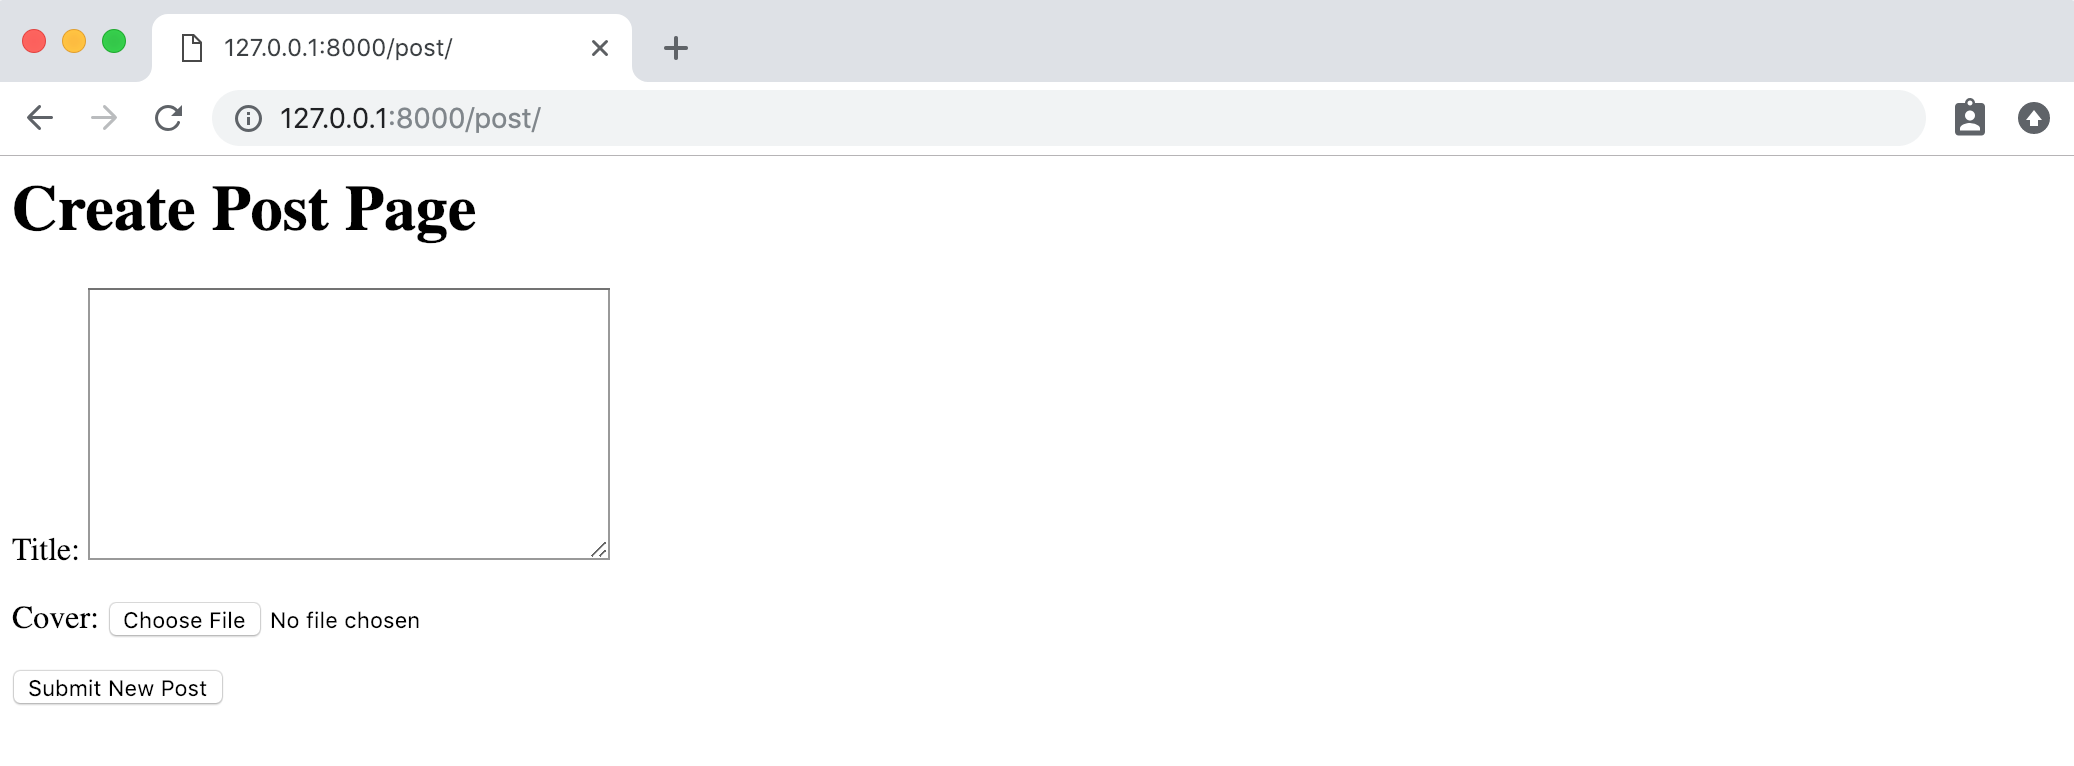
Later on you submit a new post you'll be redirected back to the homepage and will see all the posts.
Adjacent Steps
Hosting this site in production would crave a few additional steps. Notably, it's likely that y'all would utilise WhiteNoise on the server for your static files, however WhiteNoise explicitly does not support media files. The common practice is to use django-storages for this purpose and connect to something similar S3.
What else? Y'all probably want to put restrictions around the epitome size which tin can be done initially in the models.py file or with CSS. Maybe yous want to add together edit and delete options as well for the Mail. And you lot'll likely want a thumbnail version of the images as well which tin be done with sorl-thumbnail.
Source: https://learndjango.com/tutorials/django-file-and-image-uploads-tutorial
0 Response to "In Django How to Create Folder to Upload Images"
Post a Comment